
Step 1: Download the following tools
-
XAMPP Server.
-
To download XAMPP click https://sourceforge.net/projects/xampp/
-
Then install the XAMPP.
-
-
Composer.
-
To Download composer https://getcomposer.org/download/
-
Then , install the composer.
-
After downloading the XAMPP and Composer. You are getting ready to install a fresh laravel application.
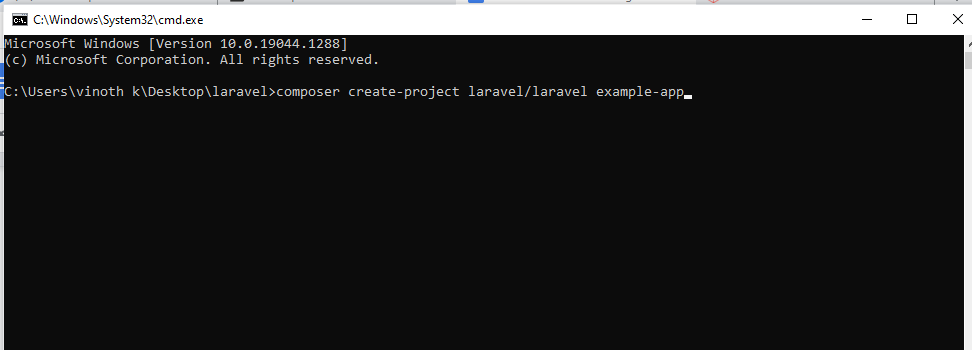
Step 2: Open the command line interface.
You have to open the CLI(Command line interface) in the desired folder where you want to create the laravel application. In my example, I installed a laravel named folder in the desktop.
Run the following command
composer create-project laravel/laravel example-app
In this command example-app is my project name , you can specify your project name there.
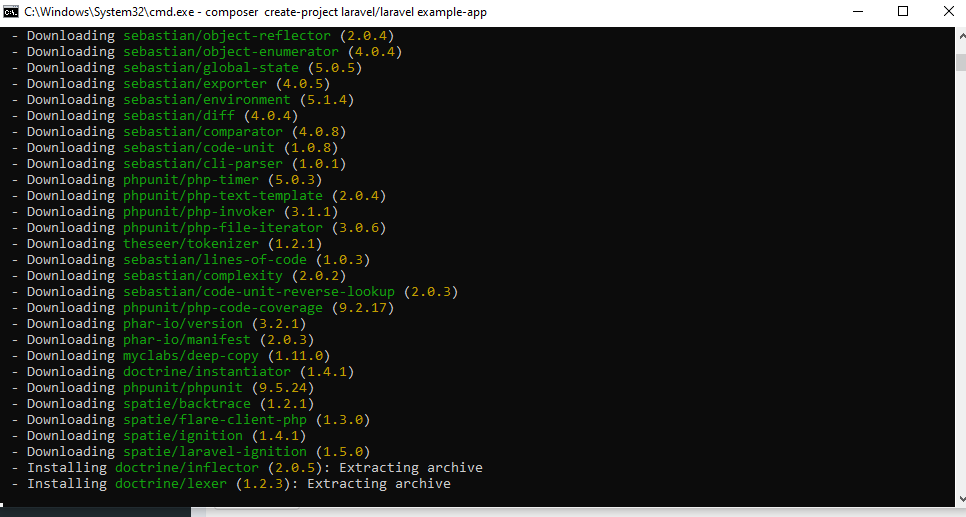
After running the command , you will see command like given below.
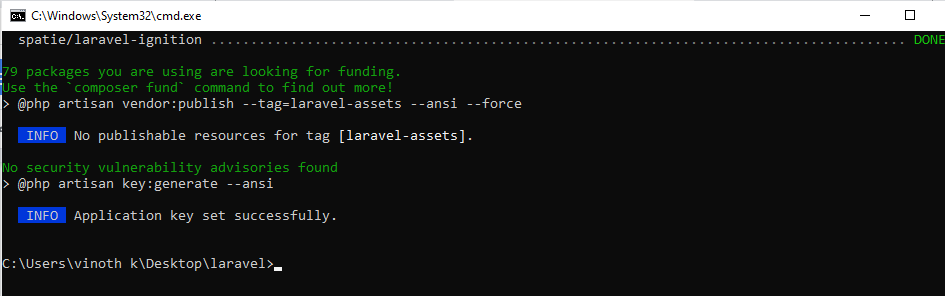
Finally, you will see the below command line, this indicates you have successfully created the laravel project.
Step 3 :
-
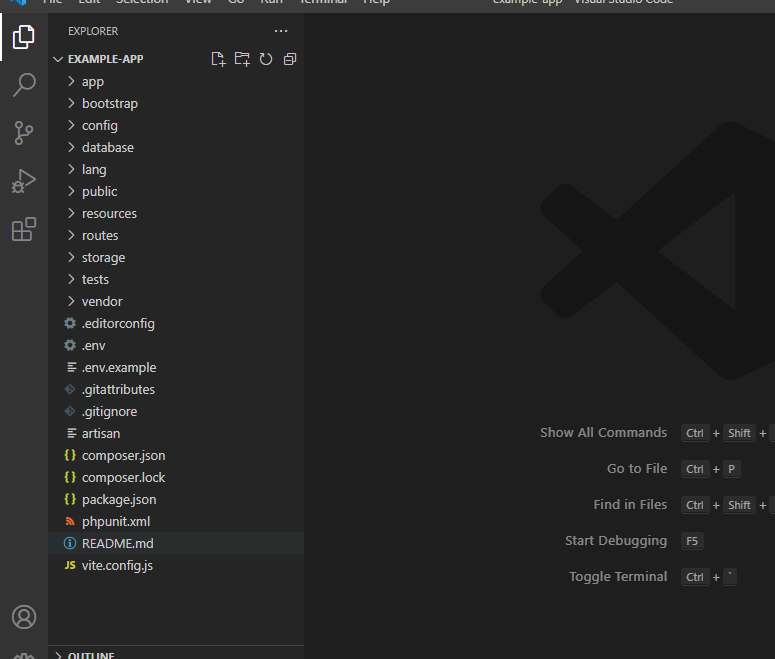
After completing the project creation, you will see the project you created. In my case, I created the project in the name example-app .Therefore , I got the example-app folder. Given below.

-
Open the example app using a text editor , I use visual studio code editor that has more features. You will see this folder after opening the example-app using vs code editor.
.
0 Comments